 By
By We wash our sheets every week, fluff the pillows, maybe even spritz the room with linen spray. Then we completely forget about the one thing on which it all rests. Your mattress quietly collects sweat, dead skin, dust, and the occasional spill for years before anyone gives it a second thought.
That’s exactly the gap this guide closes. Learning how to clean a mattress properly at home isn’t complicated, but a few steps genuinely matter, and a few common shortcuts quietly make things worse. After cleaning plenty of mattresses — including a stubborn hand-me-down that smelled faintly of “old house” — I’ve learned what actually works and what just wastes an afternoon.
By the end, you’ll know how to deep clean your mattress, mix the best homemade mattress cleaning solution, treat real stains without soaking the foam, and keep the whole thing fresh between cleanings. No gimmicks, no miracle promises — just a method that holds up.
Why Cleaning Your Mattress Properly Actually Matters
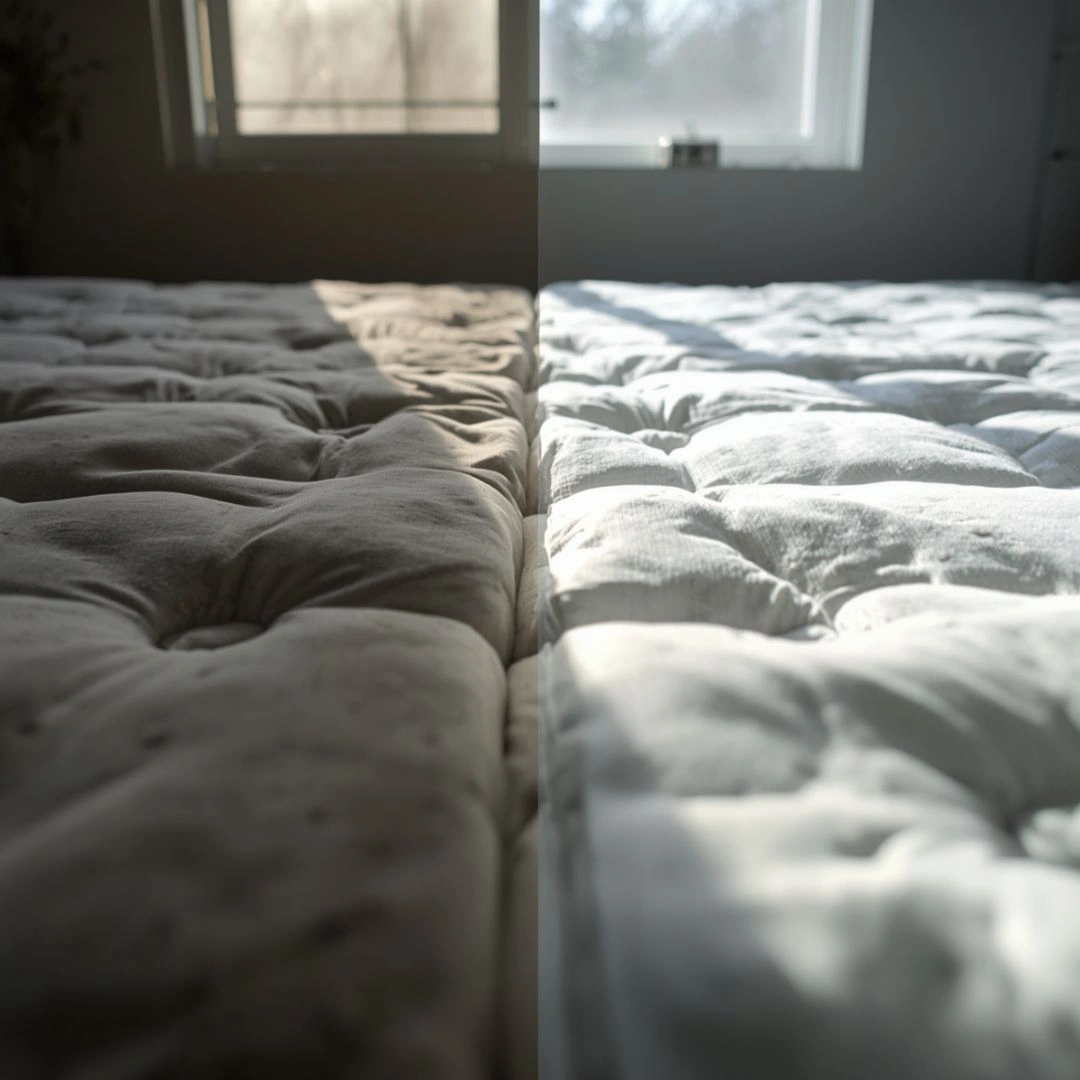
Here’s something most people underestimate: you spend roughly a third of your life on your mattress. That’s a lot of hours for a surface to go uncleaned. Over time, it absorbs body oils, sweat, shed skin cells, and moisture from the air around it.
All of that creates a comfortable home for dust mites. They aren’t dangerous to most people, but their waste is well documented as a trigger for sneezing, itchy eyes, and stuffy mornings. If you wake up congested and can’t figure out why, your mattress is worth a look before you blame the season.
There’s also the comfort factor. A clean mattress simply feels better. Lingering odors and a dingy surface make even fresh sheets feel less inviting. It’s the same logic behind styling a bed like a luxury hotel — the polish starts underneath the duvet, not on top of it.
Finally, regular care protects your investment. Mattresses are expensive, and built-up grime and untreated stains shorten the time they remain pleasant to sleep on. A little maintenance a few times a year is far cheaper than replacing it early.
What You’ll Need Before You Begin
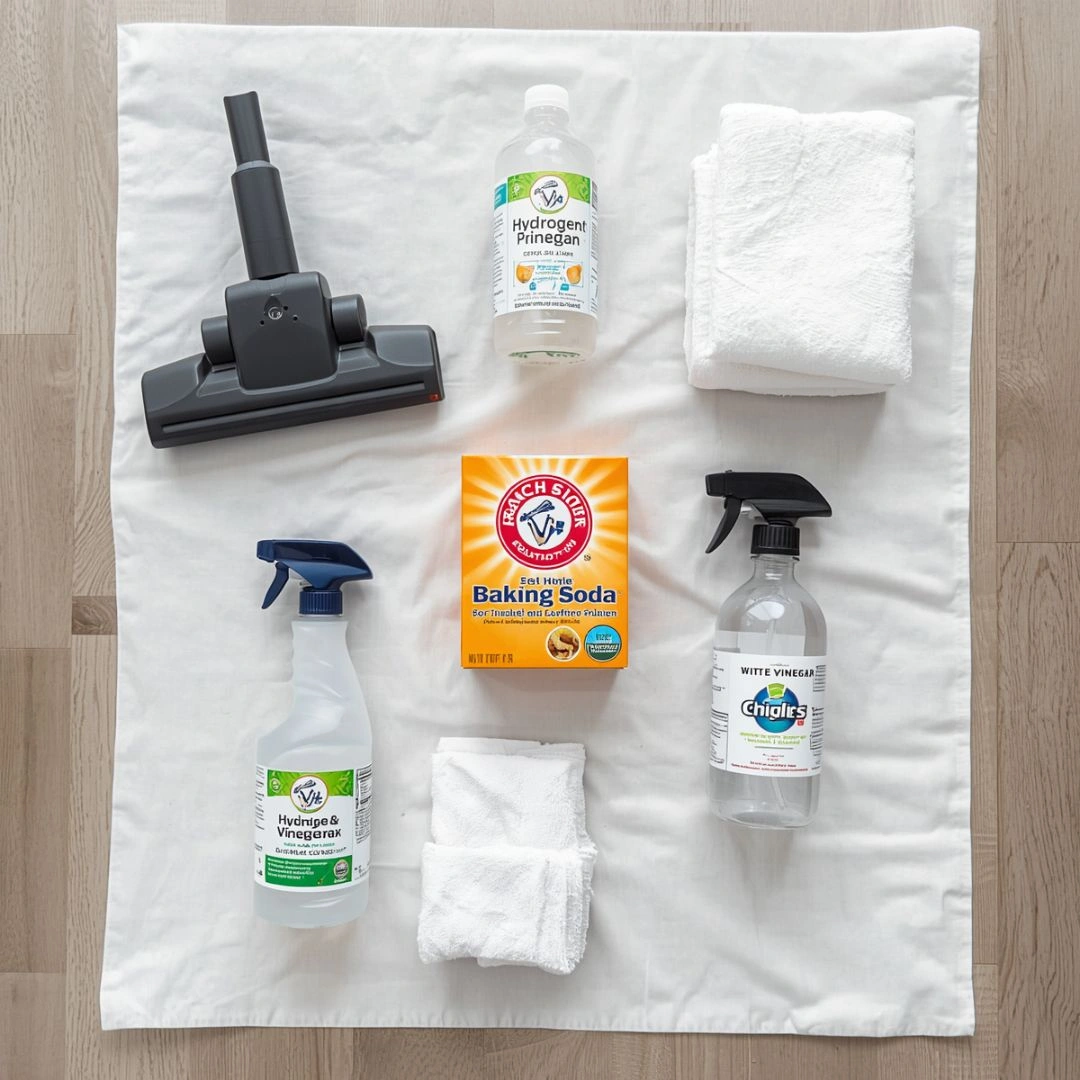
Good news: you almost certainly already own most of this. You don’t need a steam cleaner or any specialty product to do a solid job. Gather your supplies first so you’re not running around mid-task with a damp mattress.
Here’s the short list:
- A vacuum with an upholstery attachment — the single most important tool here
- Baking soda — your main odor absorber and dry cleaner
- Liquid dish soap — gentle and effective for general spots
- Hydrogen peroxide (3%) — for protein-based stains like blood
- White vinegar — for sweat marks and light odor
- A few clean white cloths or microfiber towels — white so dye doesn’t transfer
- A spray bottle and cold water
Two quick rules before you start. First, strip the bed completely and wash the sheets, mattress protector, and pillowcases on a hot cycle while you work — that way everything finishes fresh at the same time.
Second, give yourself time. The mattress needs to air-dry fully before you remake the bed, so a sunny morning with good airflow is ideal. Trapping any moisture under sheets is the fastest way to create the exact musty smell you’re trying to remove.
How to Clean a Mattress Properly at Home: Step by Step
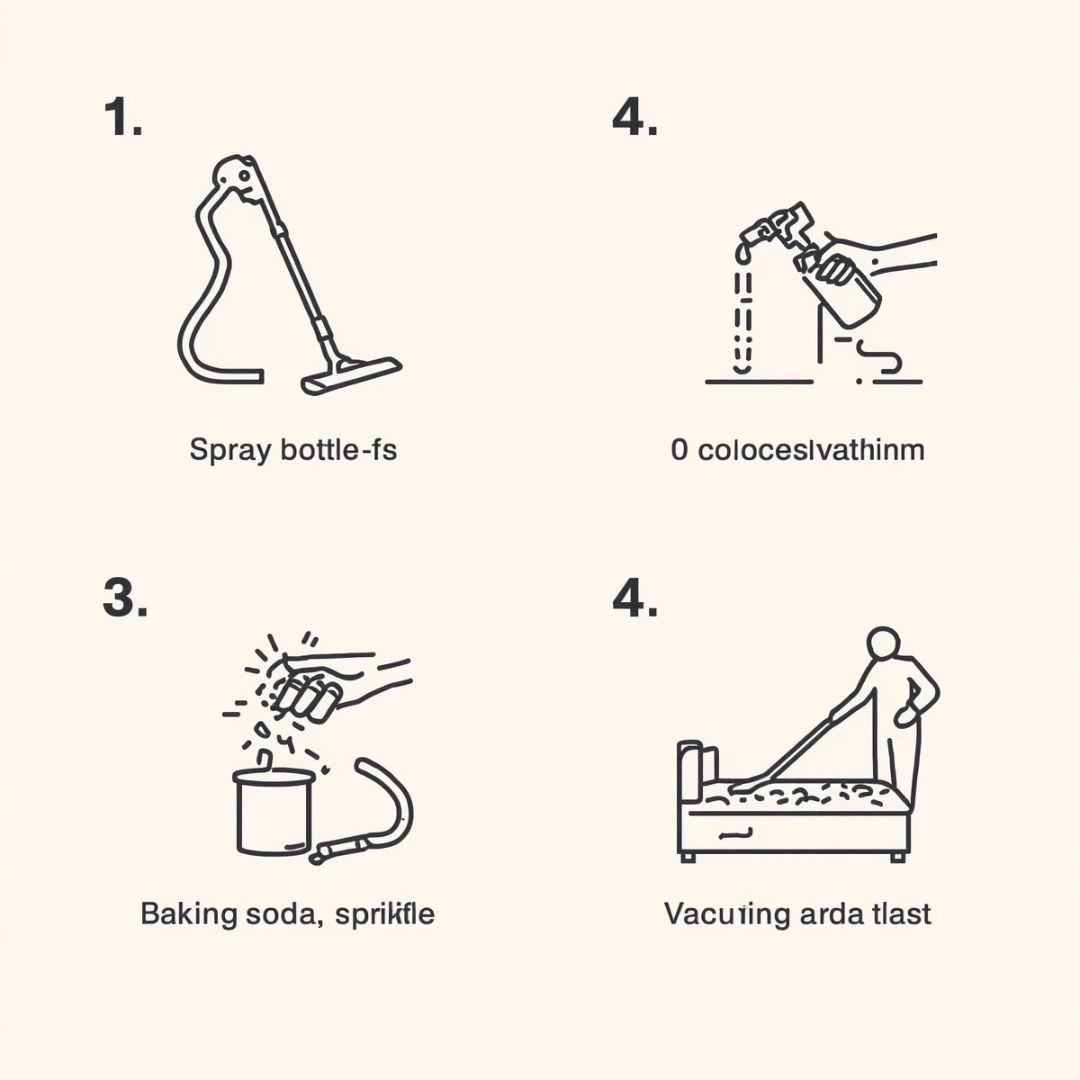
This is the core routine. Work through it in order, because the sequence does the heavy lifting. Cleaning out of order — spraying before vacuuming, for example — just pushes dust deeper into the fabric.
Step 1: Vacuum the Entire Surface
Use the upholstery attachment and go slowly across the top, sides, and seams. Seams and edges trap the most debris, so give them extra passes. This single step removes a surprising amount of dust before any liquid comes into contact with the mattress.
Step 2: Spot-Treat Visible Stains
Before the full deodorizing pass, deal with any stains individually. Skip ahead to the stain section below for the right method, then come back. Always blot — never scrub — and use as little moisture as possible.
Step 3: Deodorize With Baking Soda
Sprinkle a generous, even layer of baking soda across the whole surface. This is where the real freshening happens. Baking soda pulls moisture and odor out of the fabric rather than just masking them.
Step 4: Let It Sit, Then Vacuum Again
Leave the baking soda on for at least an hour — longer is better, and a few hours is ideal for a mattress that’s been neglected. Then vacuum it all up thoroughly. Finish by letting the mattress air out before remaking the bed.
The Best Homemade Mattress Cleaning Solution
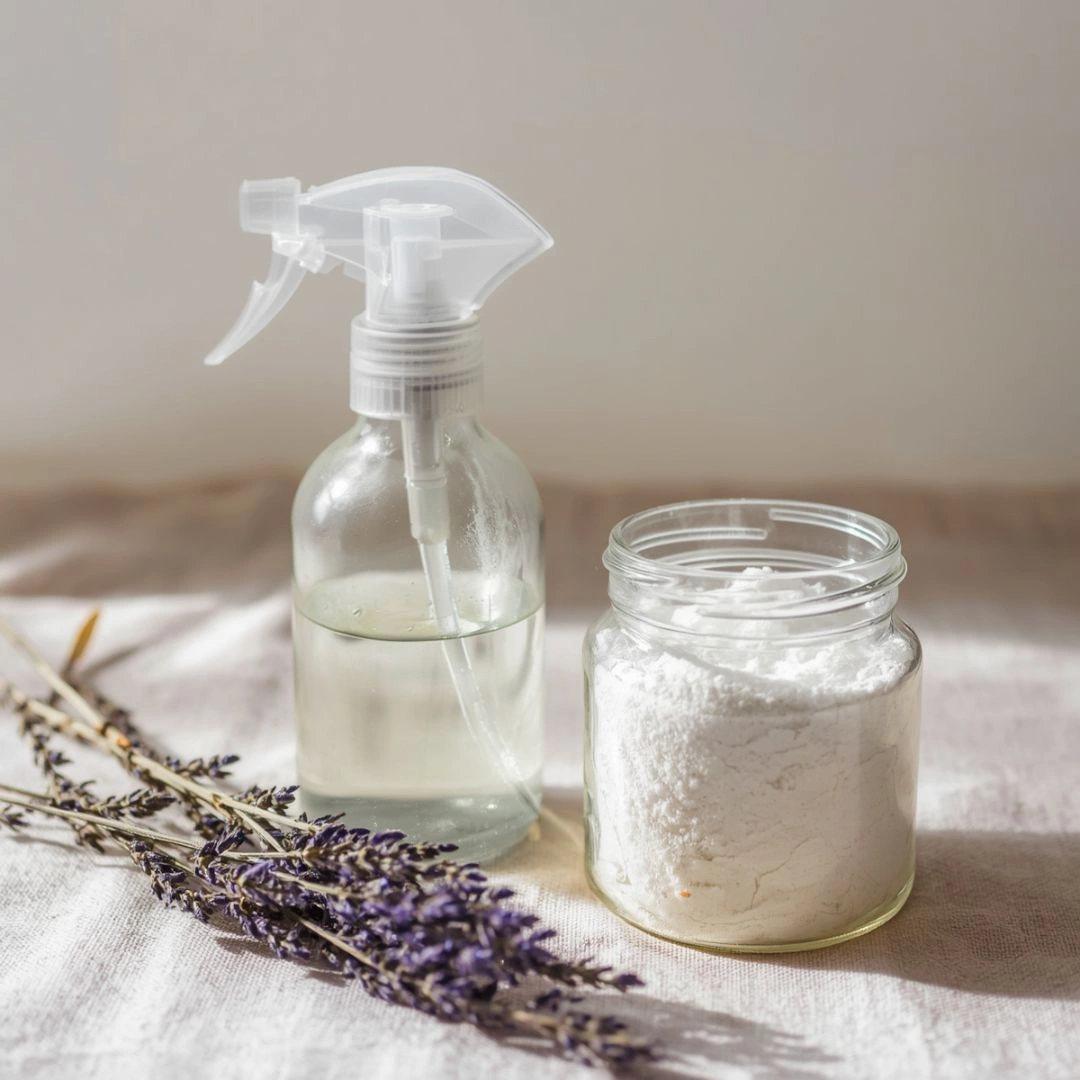
You don’t need a cabinet full of cleaners. The best homemade mattress cleaning solution is genuinely simple, and it costs almost nothing to make. I keep coming back to two reliable mixes depending on the job.
For overall freshening, combine baking soda with a few drops of an essential oil, such as lavender or eucalyptus. Stir it well so the oil distributes, then sprinkle it on as your deodorizing layer in Step 3. The oil adds a light, clean scent without the heavy perfume of commercial sprays.
For light spots and general grime, mix one teaspoon of dish soap with about one cup of cold water in a spray bottle. Mist a cloth — not the mattress — and blot the area gently. The goal is a barely-damp surface, never a soaked one.
A few honest cautions worth knowing:
- Less liquid is always better. Foam and innerspring mattresses don’t dry quickly, and trapped moisture invites mildew.
- Test first. Dab any solution on a hidden corner before treating a visible area.
- Skip harsh chemicals. Bleach and ammonia can damage fabric and aren’t worth the risk.
This homemade approach won’t perform miracles on years-old set-in stains, and it’s fair to be realistic about that. But for routine cleaning and fresh spills, it does the job as well as anything you’d buy.
How to Remove Common Mattress Stains
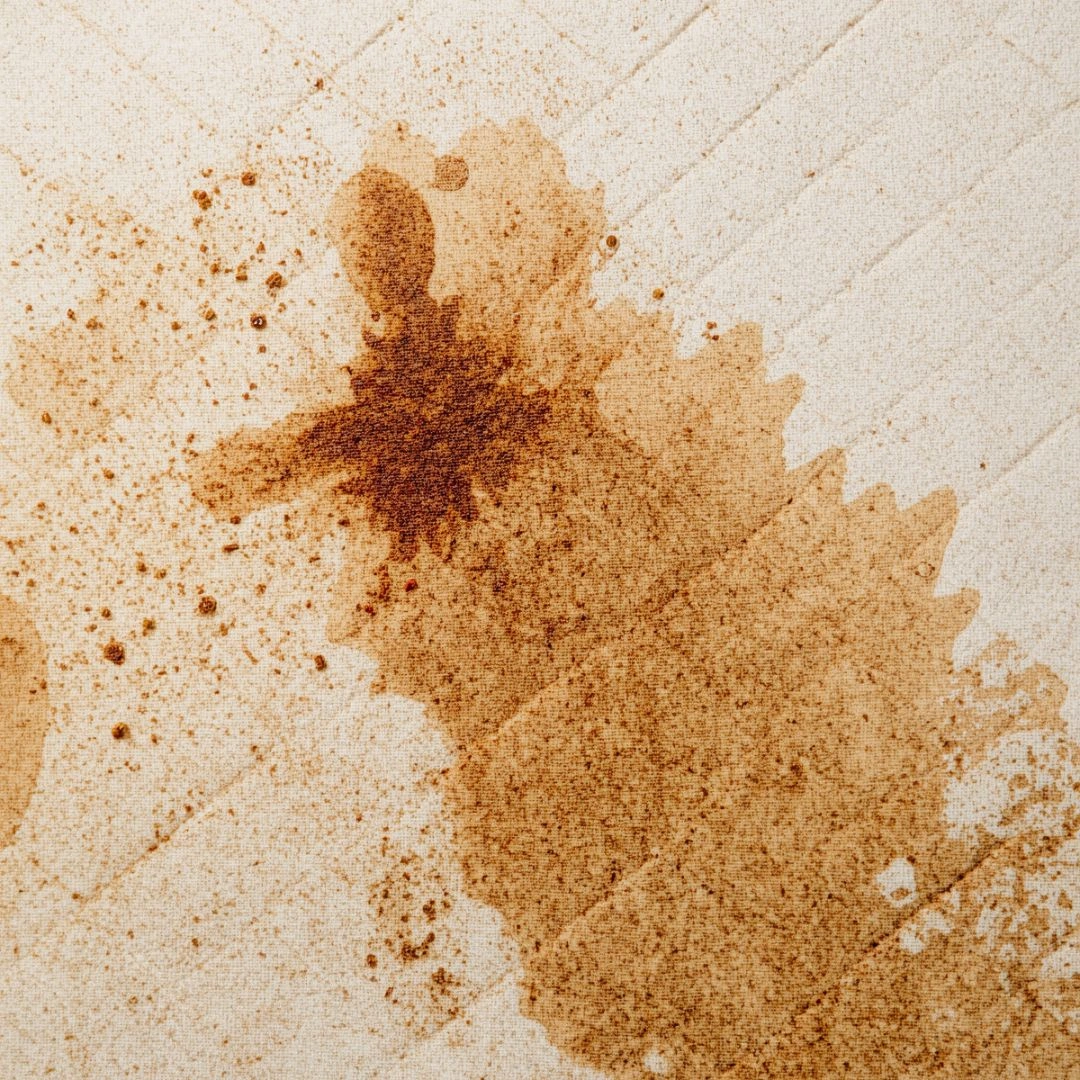
Stains are where people panic and over-soak the mattress. Don’t. The trick is matching the stain type to the right treatment and blotting from the outside in so you don’t spread it.
Sweat and Yellowing
These build up slowly and are the most common. Mix equal parts white vinegar and cold water, lightly mist the area, and blot with a clean cloth. Follow with a baking soda layer to absorb what’s left, then vacuum.
Blood
Blood is a protein stain, so use only cold water — heat sets it permanently. Dab 3% hydrogen peroxide directly onto the spot. It will fizz, which is normal, then blot it away. Repeat gently rather than scrubbing hard.
Urine
For fresh accidents, blot up as much liquid as possible immediately. Treat with a vinegar-and-water mix, then cover generously with baking soda once dry. For older urine stains, an enzyme-based cleaner works best, as enzymes break down the residue left by ordinary cleaners.
Here’s a quick reference you can come back to:
| Stain Type | Best Treatment | Key Rule |
| Sweat / yellowing | Vinegar + water, then baking soda | Treat early before it sets |
| Blood | 3% hydrogen peroxide | Cold water only — never hot |
| Urine | Vinegar + baking soda, or enzyme cleaner | Blot fast while fresh |
| General spills | Dish soap + water on a cloth | Blot, don’t scrub |
Getting Rid of Odors, Sweat, and Dust Mites
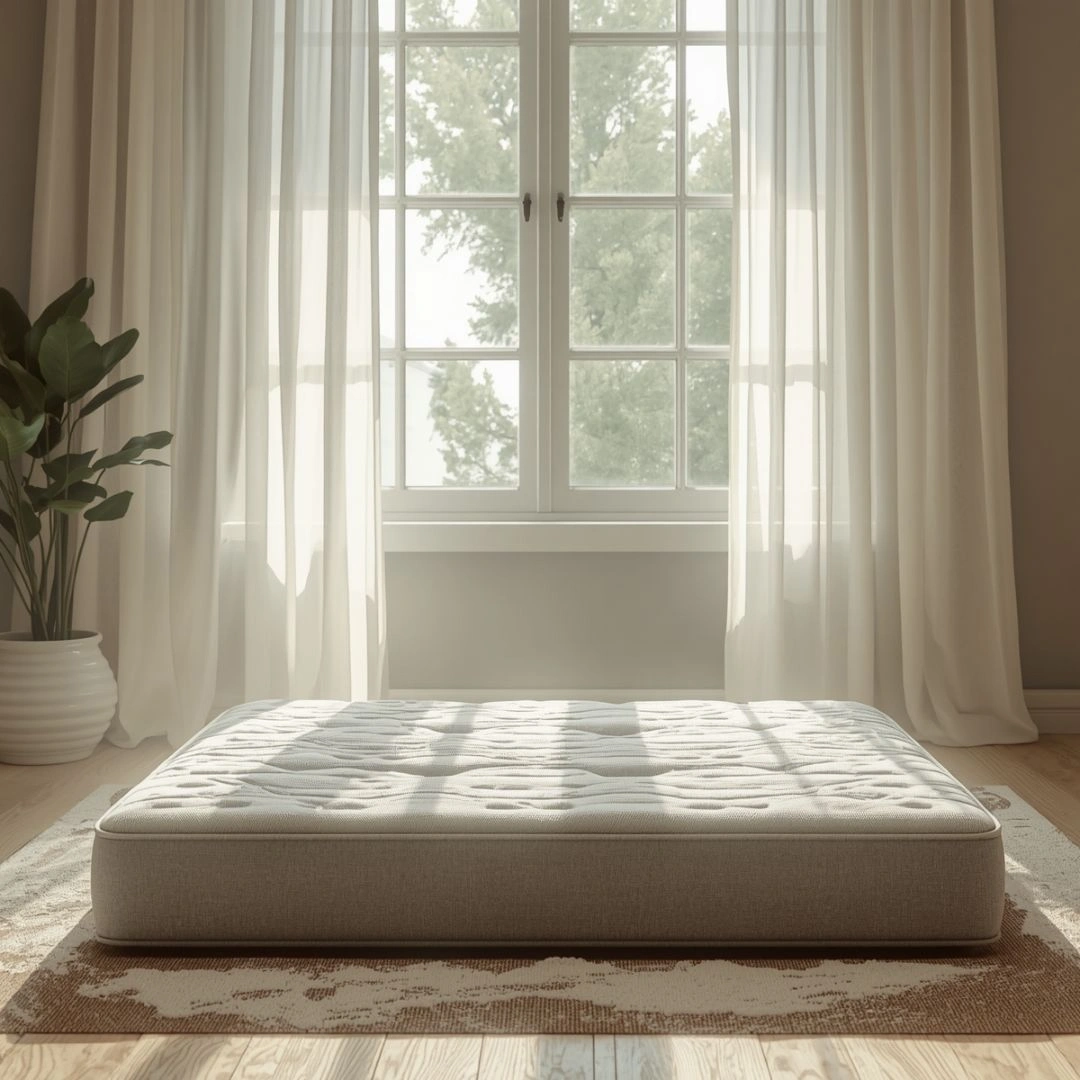
Sometimes the mattress looks fine, but doesn’t smell fresh. Odor usually means absorbed moisture, and the fix is the baking soda method done patiently — a thick layer left on for several hours, then vacuumed away. For a stubborn smell, simply repeat it.
Sunlight and fresh air are underrated allies. If you can get the mattress near an open window, or carry a smaller one outside on a dry day, a few hours of airflow and indirect sunlight help reduce moisture and naturally freshen the fabric.
For dust mites, the strategy is moisture control. Mites thrive in humid, warm bedding, so a few habits make a real difference:
- Vacuum the mattress every time you do a deep clean
- Wash sheets weekly in hot water
- Air the room out regularly instead of keeping it sealed.
- Use a washable mattress protector as a barrier.
That protector matters more than people think. It’s the easiest way to keep sweat and allergens off the mattress in the first place, which means lighter cleaning later. Tidy bedding habits also feed into the bigger picture of why a home can look messy even when it’s technically clean — freshness is partly about what you can’t see.
How Often Should You Clean Your Mattress?

A simple rule keeps this manageable: do a full deep clean every three to six months, and handle spills the moment they happen. Twice a year suits most people, while allergy sufferers, pet owners, and parents of young kids should lean toward the more frequent end.
Between deep cleans, small habits do most of the work. Vacuuming the surface when you change seasonal bedding, washing sheets weekly, and rotating the mattress every few months all help it wear evenly and stay fresher for longer.
It also helps to fold mattress care into a routine you already have. If you do a seasonal deep clean of the bathroom or refresh other rooms on a schedule, attach the mattress to that same rhythm so it never gets forgotten again.
One last note for guest rooms. A spare mattress used a few times a year still needs occasional attention — a quick vacuum and baking soda treatment before visitors arrive makes a noticeable difference. It pairs well with broader guest bedroom refresh ideas as you prepare the room.
Final Thoughts
Cleaning a mattress isn’t a big production once you know the order: vacuum, spot-treat, deodorize with baking soda, and let it dry. The hardest part is simply remembering to do it. Build it into a seasonal routine, and it stops feeling like a chore.
Be realistic, too. Routine cleaning keeps a mattress fresh and healthier to sleep on, but it won’t erase every old stain or revive one that’s well past its lifespan — and that’s perfectly normal. The goal is a cleaner, calmer sleep surface, not perfection.
Do this a couple of times a year, protect the mattress between cleanings, and you’ll genuinely notice the difference the first night you lie down on fresh sheets over a properly cleaned mattress.
Your Next Step
Pick a sunny morning this week, strip the bed, and give your mattress the deep clean it’s quietly been waiting for. You already have what you need. If this guide helped, save it for your next seasonal refresh and share it with someone whose mattress could use the same attention — then explore more of our bedroom care tips to keep the whole room feeling fresh.
Frequently Asked Questions
Can I clean a mattress without baking soda?
- You can, but baking soda is hard to beat for absorbing odor and moisture. If you’re out, airing the mattress in sunlight and vacuuming thoroughly still helps, just not quite as effectively.
How long does it take a mattress to dry after cleaning?
- It depends on how much moisture you used. Done correctly, with minimal liquid, a few hours of good airflow are usually enough. Always confirm it’s completely dry before putting sheets back on.
Is steam cleaning a mattress a good idea?
- It can work, but it introduces a lot of moisture, and foam mattresses especially struggle to dry. For most people, the dry-baking-soda method is safer and just as effective.
Why does my mattress still smell after cleaning?
- The odor source is likely still holding moisture. Repeat the baking soda treatment, leave it on longer, and give the mattress more airflow and time to dry fully.
Can I clean both sides of the mattress?
- Yes, and you should if it’s a flippable model. Clean one side, let it dry completely, then flip and repeat. This also helps the mattress wear more evenly.